Navigation with UBR-1
UBR-1 comes with higher level robot functions which can be used as building blocks when creating your robot application. One of these building blocks is the ROS navigation stack, which allows the robot to navigate from place to place within the environment.
There are several steps involved in navigating within your own environment. First, you will need to build a map of your environment. Once you have a map, you will want to create a launch file that starts navigation with your own map. Finally, when navigation is running, you must localize the robot before sending any navigation goals.
For more complete documentation of the individual components of the navigation stack, see the documentation on the ROS wiki.
Building a Map
If you are using a simulated UBR-1, you can skip building a map and configuring to use a map since you have access to a simulated world that includes a pre-made map.
TODO.
Configuring to Use Your Map
Now that you have save a map, you need to tell the navigation stack to use your map. The easiest way to do this is to create a new launch file for your environment:
<launch>
  <include file="$(find ubr1_navigation)/launch/navigate.launch">
    <arg name="map_file" value="insert_path_to_your_file" />
  </include>
</launch>
Running Navigation
If you created your own launch file in the section above, you want to run that now, if running in simulation, you should start the simulator with the home and environment and then start navigation:
>$ roslaunch ubr1_gazebo simulation_home.launch
>$ roslaunch ubr1_navigation navigate.launch
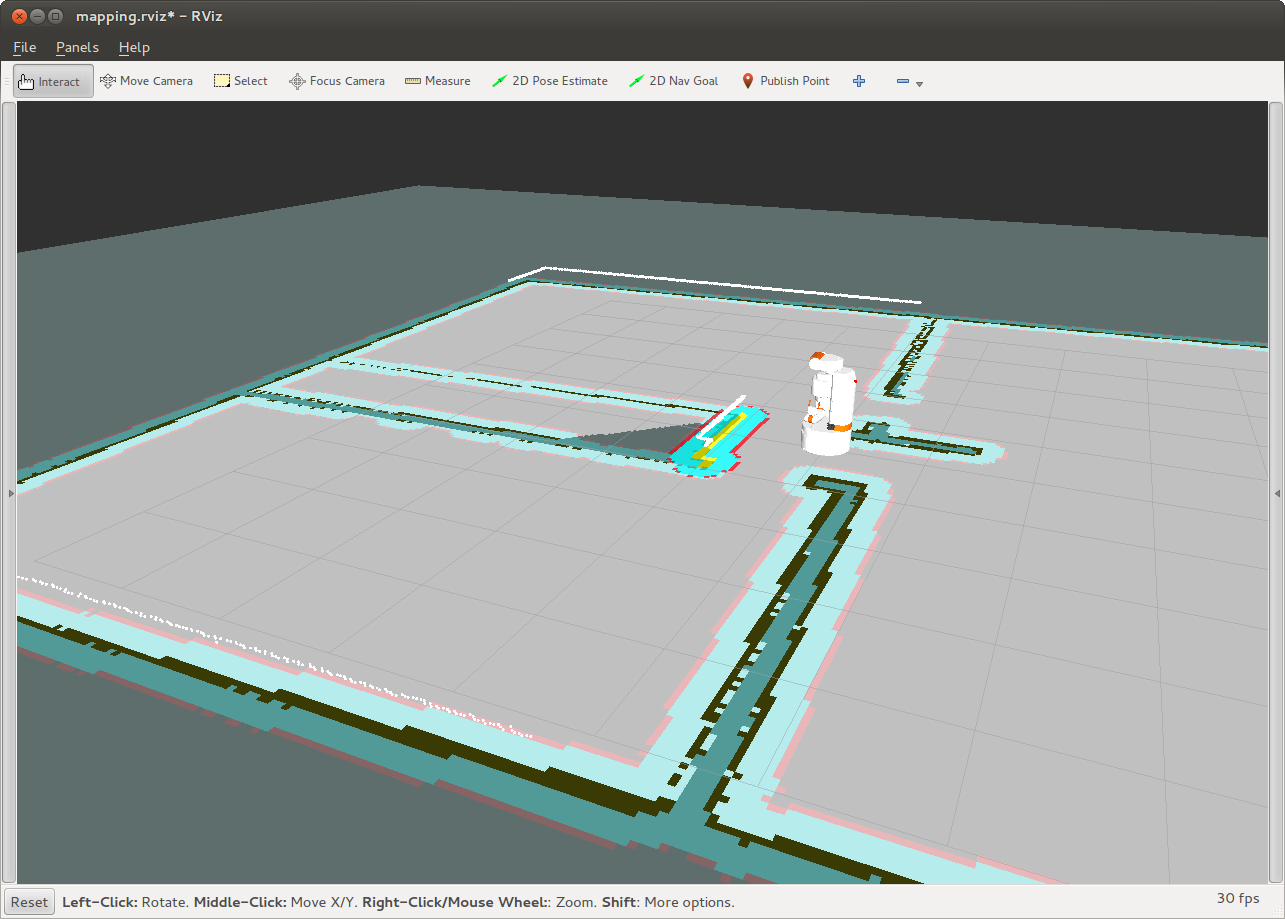
Once you have started the launch file you created for navigation, you need to localize the robot. The easiest way to do this is using RVIZ. Open RVIZ and select the .rviz file in the navigation stack. This will setup your RVIZ window so that the fixed frame is /map. Once you do this, you should see the map you configured earlier. However, you will not see any sensor data, and may see a number of errors in RVIZ. This is because there is no TF transformation available for getting your sensor data into the /map frame. This is where localization comes in.
Navigation uses a program called amcl, which is an implementation of the Adaptive Monte Carlo Localization algorithm (TODO: citation). This program will use laser and odometry data to track where the robot is, but it does a poor job of making an initial guess as to where the robot is. The easiest way to bootstrap the system is using RVIZ. Click Send 2D Pose and then click where you think the robot is, and laserscans and costmaps should start to appear in RVIZ, along with a robot model. If the robot is not in the right place, you can send another pose estimate, or possibly just teleop the robot around until amcl converges to a proper solution if your first estimate was close, but not quite right.
Now that navigation is running, you can click Send 2D Goal and the robot will begin planning and then driving to the goal.
Sending Commands in Python
TODO
Sending Commands in C++
TODO: fill this in (see http://wiki.ros.org/navigation/Tutorials/SendingSimpleGoals for an example)
Debugging Common Issues
TODO